

If you’ve been following along on my blog, you know that Nick and I purchased our first home just over one month ago! I pinch myself every day to ensure I’m not dreaming and that this milestone did in fact happen in our lives. As odd as it sounds, there’s something calming and comforting about being a homeowner, even amidst the stress of home projects and unforeseen problems. Goodbye are the days of writing rent checks and worrying about nailing holes in the walls or our pup damaging something in our temporary space. Now these walls and floors are truly ours to decorate and destroy as we please (just kidding on the destroy part! ha)
Since signing our lives away on August 29, we’ve been hard at work transforming this house into our perfect home thanks to a little bit of paint, a lot of sweat and tears and even more patience. Here’s a glimpse inside our lives these days and the home projects we decided to tackle before move-in day and the weeks immediately after!
THE FLOORS:
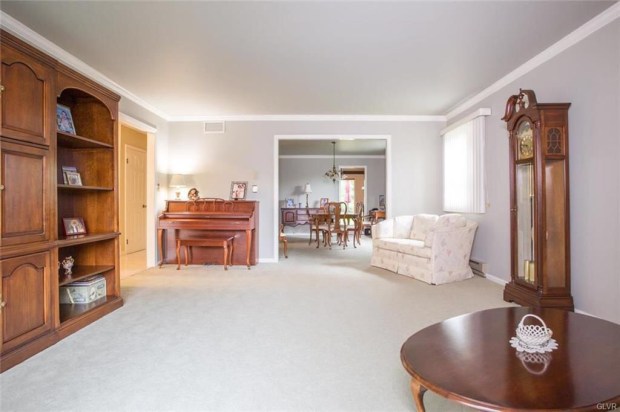
I think my favorite renovation to the house to date are our new floors. If you recall from the Zillow pictures I shared, our home was covered in wall to wall carpet on the second level as well as in all the main living spaces (living room, dining room and family room.) Carpet varied in shades of (dirty) white, navy blue with floral pattern and my personal favorite – a teal + hunter green.
While touring the home and making our offer, Nick and I agreed the carpet would be the first thing to go if we could afford that large of a renovation this early on. We went to both Home Depot and Crest Flooring, a locally owned and operated wholesale business in the Lehigh Valley for our measurements and price estimates. Luckily for us, the sellers agreed to let us measure the rooms for new flooring while they were still living here so we could have the materials arrive around our closing date. (Tip: Lead times for floor material delivery are anywhere from 4-6 weeks. If you have the opportunity to get measurements beforehand, I highly recommend!)
Our initial game plan was to measure and quote the entire house, minus the basement, so we would have an idea on overall cost, even if we didn’t tackle all projects right away. After receiving pricing from both places, Nick and I decided to move forward with Crest Flooring after receiving a lower installation price for better quality materials/flooring. We decided to replace the carpet in all three bedrooms, the upstairs hallway, the staircase, as well as the living room, dining room and family room. Essentially all the rooms with carpet were getting replaced, saying goodbye to germs, toxins and allergens. While I wanted to rip up the tile in the entryway and kitchen, the cost for tile removal was far too expensive and will be a renovation we tackle in years to come.
THE FLOOR MATERIALS:
LUXURY VINYL: I love the look of hardwood but know it isn’t practical with a 100 pound dog running around. I also know how much I despise cleaning dog hair and accidents out of carpet. Knowing both of these things and after much online research, we decided to purchase luxury vinyl flooring for our main living areas. Luxury vinyl is a wood-looking flooring option that is affordable, durable and waterproof (unlike laminate flooring!) The planks we purchased click together for easy install and feature a sound-proof rubber padding that assists with noise-control.
LIVING ROOM BEFORE:
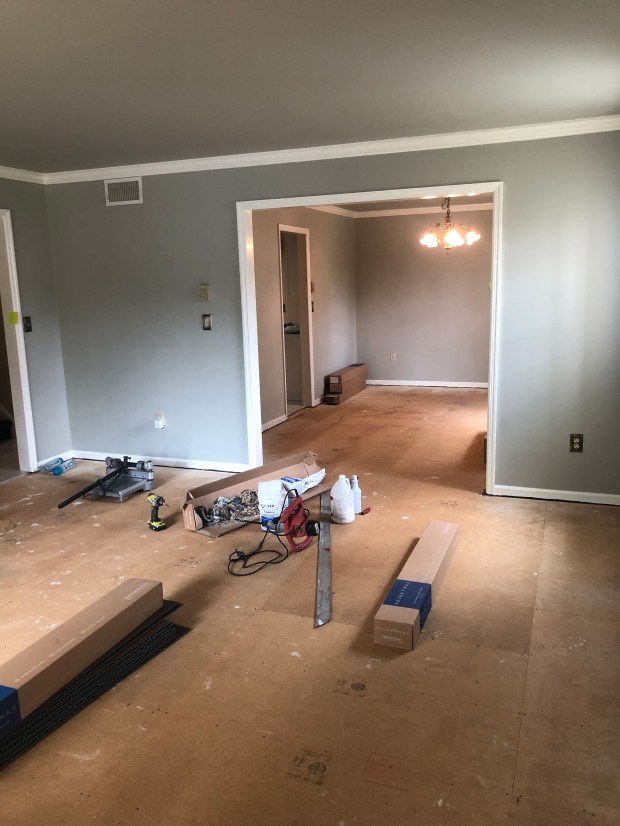
LIVING ROOM PROGRESS:
LIVING ROOM AFTER:

DINING ROOM BEFORE:

DINING ROOM PROGRESS:

DINING ROOM AFTER:

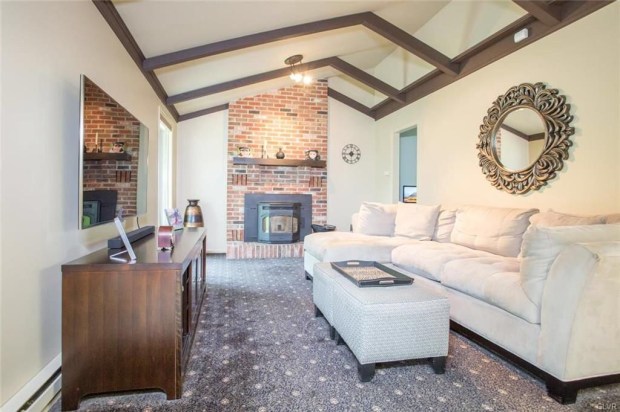
FAMILY ROOM BEFORE:
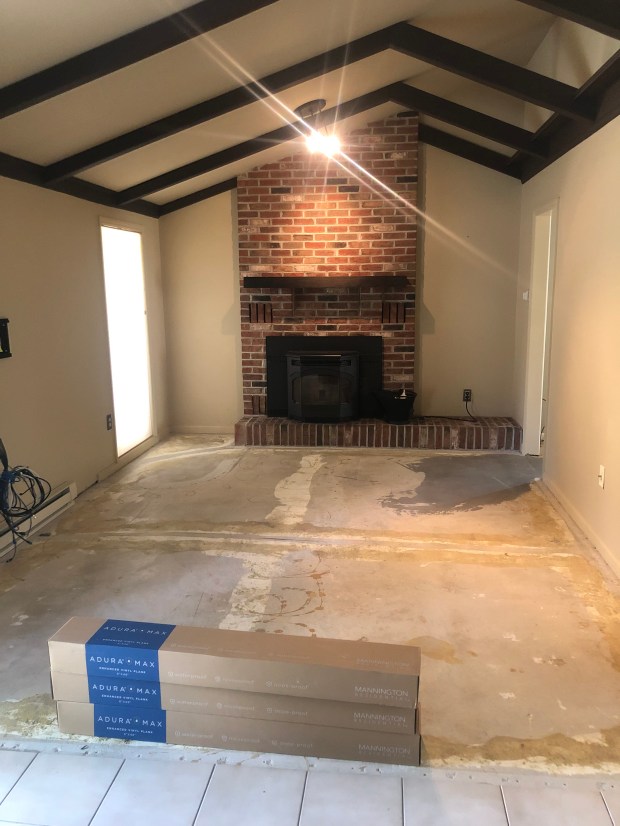
FAMILY ROOM PROGRESS:
FAMILY ROOM AFTER:

CARPET: For the three bedrooms, Nick insisted on keeping carpet and going with something more neutral than the forest green. Our carpet definitely isn’t as sexy or conversation starting as our luxury vinyl, but I will be the first to tell you that our carpet is the softest, most comfortable flooring in the house. Is it too cliche to say that our carpet feels like walking on clouds?
Early on we were told to invest more money in the padding than the carpet itself, as that effects the feel and cushion more so than the a low, medium or high-pile carpet. We installed their “Hope” padding which donates a portion of funds to St. Jude’s Children’s Hospital. The padding also features a Spillguard that helps prevent stains from spills and unexpected animal accidents.
MASTER BEDROOM BEFORE:

MASTER BEDROOM AFTER:


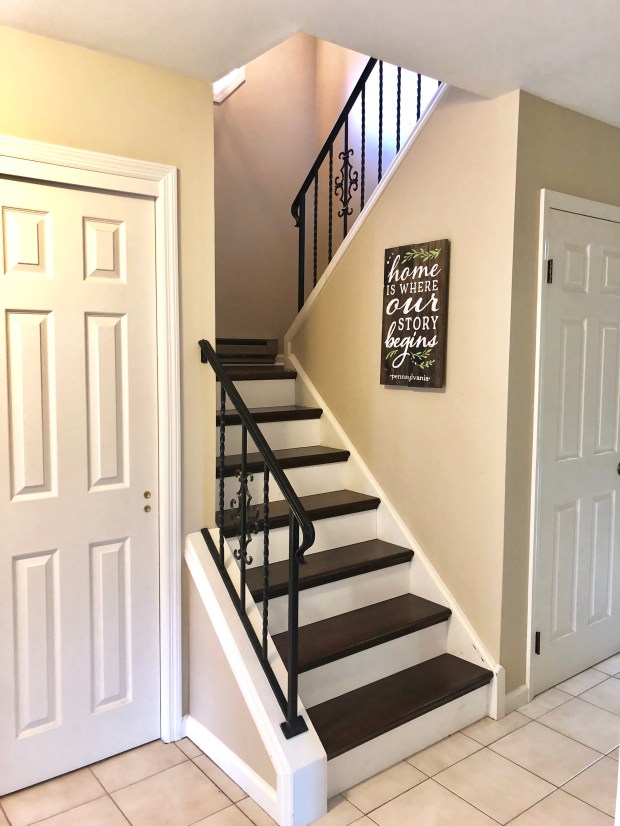
HARDWOOD STAIRS: Oh the stairs – the most stressful flooring project to date. Unfortunately, luxury vinyl cannot be installed on stairs because stairs are a floating surface. Knowing this, we were left with two options – carpet or upgrading to hardwood. Knowing the wear and tear stairs get from everyday foot traffic, we decided to install custom stained hardwood stairs to match the luxury vinyl rather than a neutral colored carpet that we would need to replace every few years. For those thinking custom stained stairs cost us a fortune, they actually were the same cost as purchasing finished and primed stair treads. We purchased raw material treads and stair caps that are cheaper than already finished versions and Crest stained them at their facility to match the color of luxury vinyl we installed. I am thrilled with how the stairs turned out and would not think twice about settling for an imperfect match in color or wood tone knowing that custom staining is an affordable option.
STAIRS BEFORE:


STAIRS AFTER:

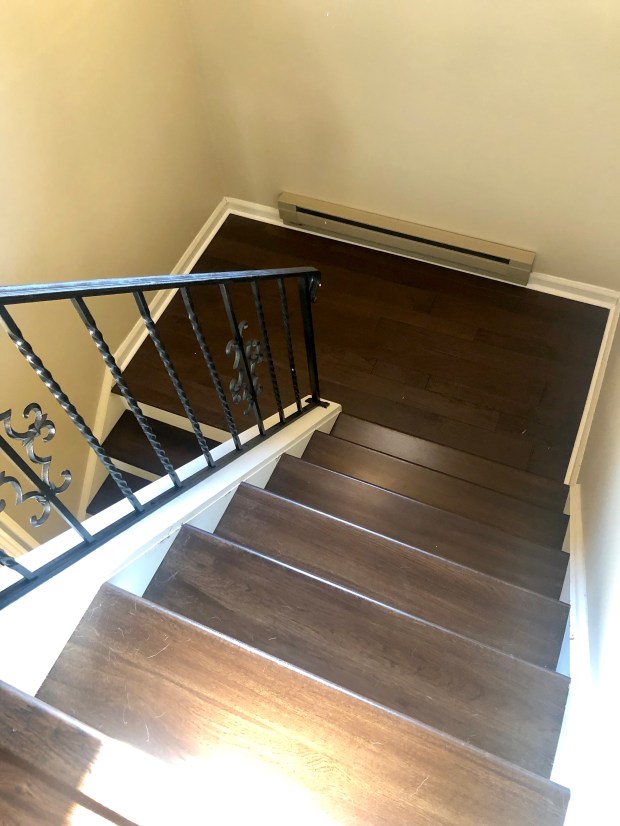
One thing to note is that hardwood stairs are slippery. To prevent any accidents, we’re installing a carpet runner on the center of the stairs for Molson’s safety. He regularly barrels down the stairs at full speed and the last thing we need is a broken bone from him falling down the stairs. Unfortunately the stair runner also has a 3-5 week lead time so more pictures to come next month!
Material brand and color:
Carpet: LifeGuard Fortify JD741 | Color: 552 Platinum
Luxury Vinyl: Mannington Adura Max | Color: Sundance Gunstock
Stairs: Nu Stairs | Color: Custom stain
Stair Landing: Somerset Homestyle | Color: White Oak Rustic Autumn
THE KITCHEN
If anyone is still reading at this point, I need to start out this section with a HUGE thank you and praise to Nick for putting up with me during our kitchen renovation process and making my white kitchen dreams come true! When we started our home buying search, Nick knew the kitchen was the most important room in the house for me, as I love to bake and cook. I also knew that kitchens and bathrooms sell homes, meaning the more upgraded the kitchen the higher the cost. I kept my eyes peeled for my dream kitchen in our price range, or looked for a kitchen with great bare bones that could be tackled with minor DIY renovations rather than a full gut job. When we toured our home, I wasn’t thrilled about the kitchen but did like the open concept of the eat-in area and family room. The cabinets were dark. The backsplash was outdated and it was nothing like the Joanna Gaines kitchen I dreamed of. But, I knew it would be with a few coats of paint and trips to Hobby Lobby.
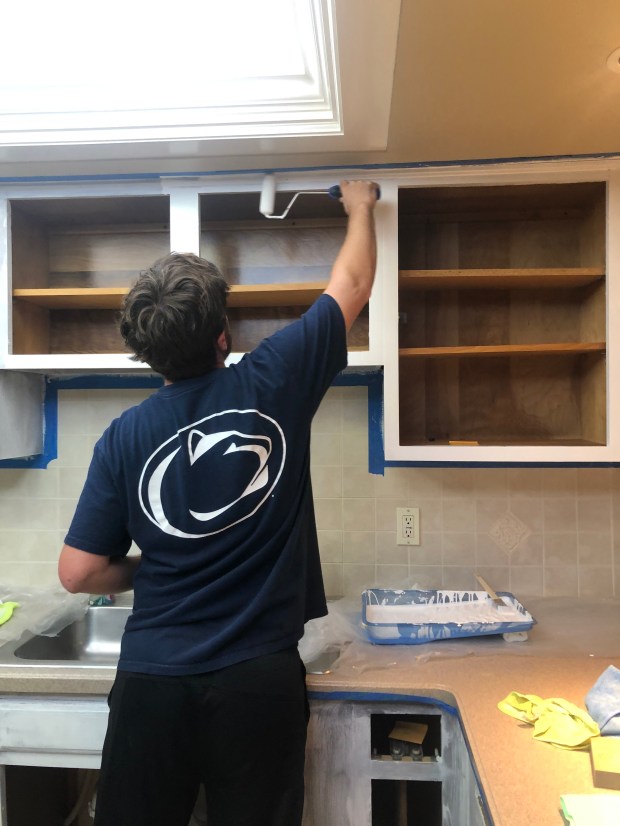
I’m going to do a full blog post about our kitchen transformation once we’re finished (because shockingly there is still more paint to pour and updates to make) but I wanted to share the initial transformation pictures. After 7 days, 4 coats of Valspar Cabinet Paint and a lot of wine, I have the start to my dream white farmhouse kitchen.
KITCHEN BEFORE:

KITCHEN PROGRESS:

KITCHEN AFTER:

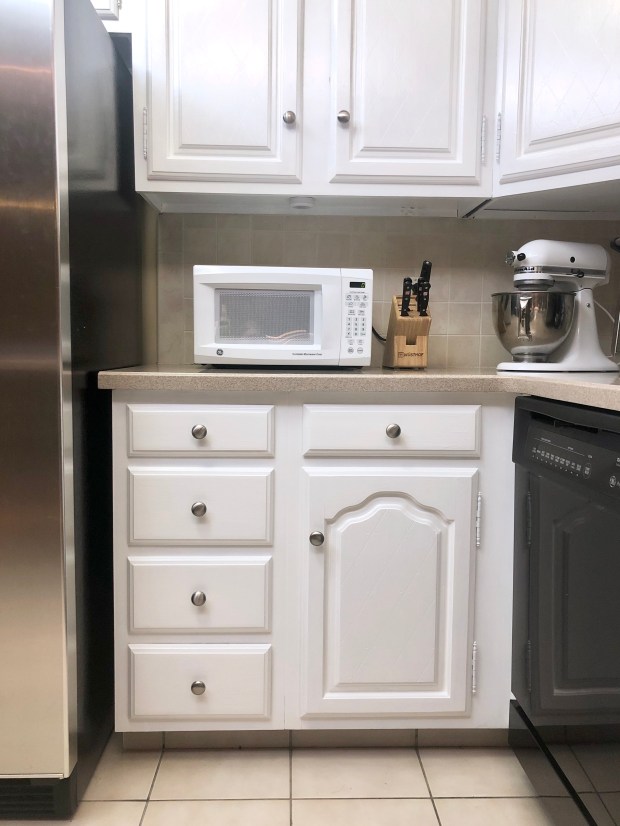
Believe it or not, the kitchen includes all original cabinets simply painted white with new hardware. Countertops and backsplash are all original. It still amazes me how a little white paint can completely transform a room, turning a dark, dated kitchen into a brighter, happier space! Initially I wanted everything changed but now I genuinely like the countertops and am tolerating the backsplash thanks to strategically placed farmhouse decor and signs. We also added Valspar Shiplap wallpaper to one of the kitchen walls for an additional touch of modern farmhouse! I love how it turned out, for less than $75!

Next steps will be another round of paint and swapping out the appliances for new stainless steel for a modern look. I’m saving my pennies and dimes for a flooring renovation budget (2020 or 2021) to replace the kitchen tile which I know will add to the transformation.
Why Did We Tackle Everything Before Move In Day?
I’ve been told countless times that Rome wasn’t built in a day. And trust me, I totally understand that I can’t have everything I want in the first 30 days but I did try my hardest, but for the right reasons. Nick and I ultimately decided to update the flooring and transform our kitchen before our move-in date for the sheer convenience of not putting Molson in the kennel. While we had a tight, 5-day window for installation and painting, I knew it would be worth the stress and headache knowing Molson was safely contained in our town home while workers installed carpet and flooring in an empty home. I was also terrified Molson would rub up against wet kitchen cabinets and coat himself in white, wet paint. For a dog who hates water and the bathtub, that would have been all of our worst nightmare. While we may not have slept for a week and it seems like we went overboard in our first few days as homeowners, I wouldn’t change a thing about our renovation process and our first home.
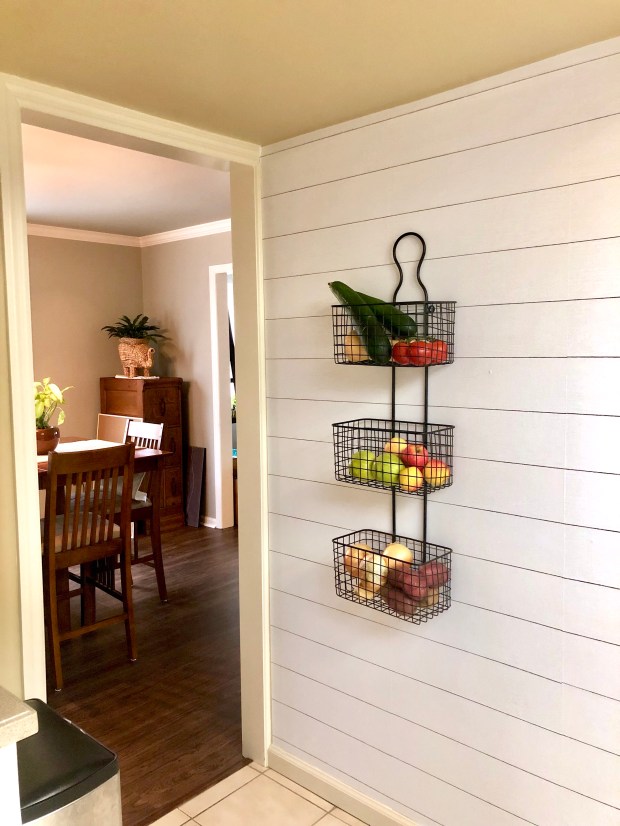
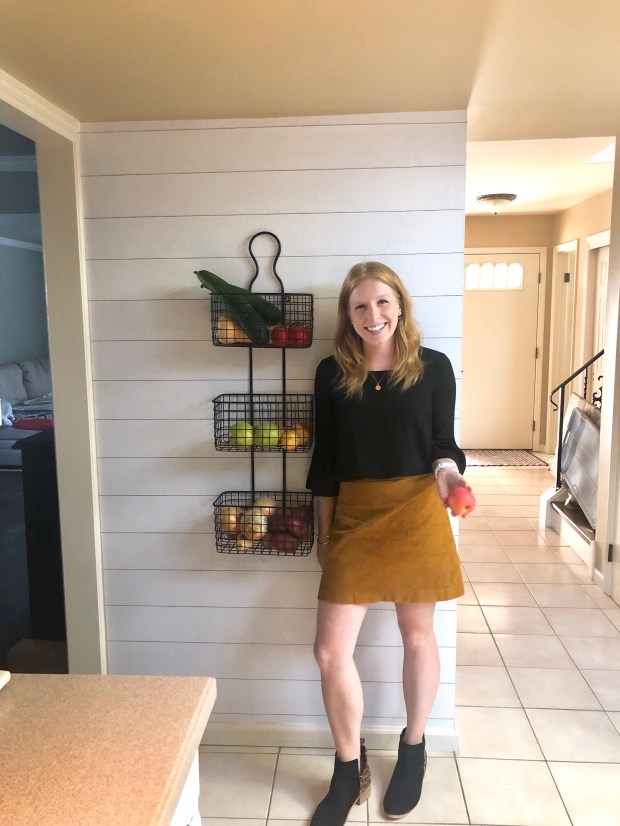
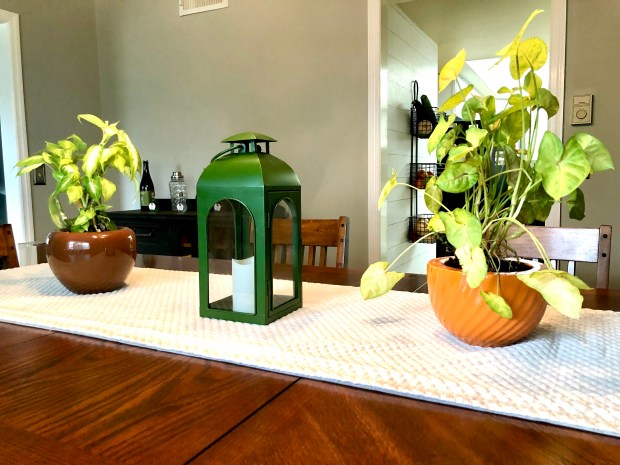
YES, OUR HOME HAS FURNITURE TOO
Just a few pictures to show how we started decorating our home not that the renovations are over! Upstairs and basement pictures to come once I gather the energy to unpack those boxes too.


There you have it! A look at our progress since purchasing our home one month ago. While I love DIYing and renovating the space, I am relieved and happy to take a break from the projects for a while and focus on enjoying our home plus catching up on sleep, cleaning eating, exercise (you know, all the things I’ve neglected since August!)
Thanks for following along on all our homeowner adventures!

Love your new home! What hard work! Only a month? WOW 😲
LikeLike